Okay kids, today I will 8e showing you how to sew Terezi’s dragon cape.
Before I start, I’d like to get some stuff out of the way.
I don’t know anything about sewing.
READ THE WHOLE THING BEFORE YOU START
Okay…
Materials:
3 Yards of red fleece It’s really nice and soft, good for cold cons too
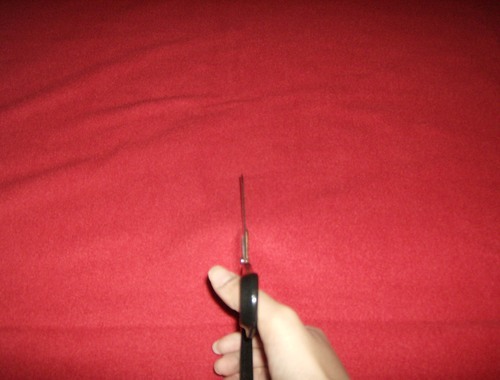
Scissors
Red thread
A sewing machine, seriously, only hand stitch little things.
Chalk, or a fa8ric pencil thing
measuring tape
Stuffing, like polyester fiberfill is what I used
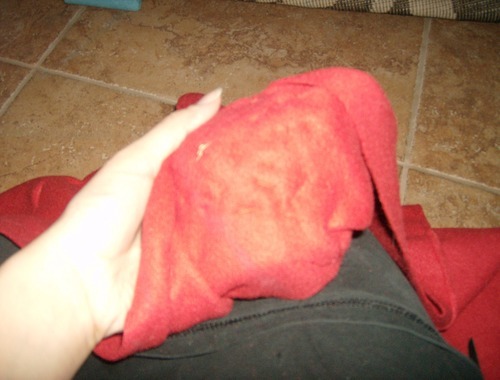
Okay, let’s get this started.
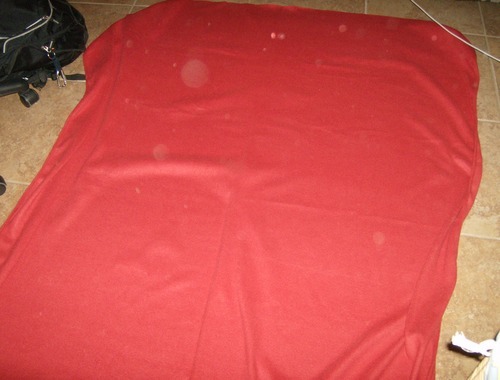
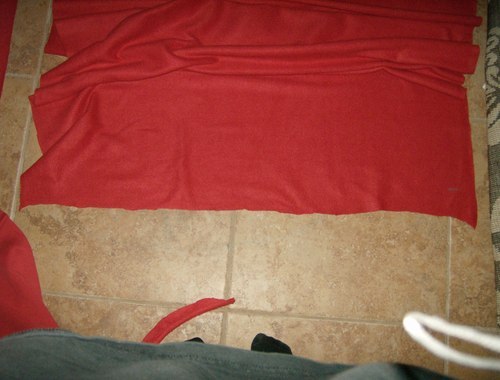
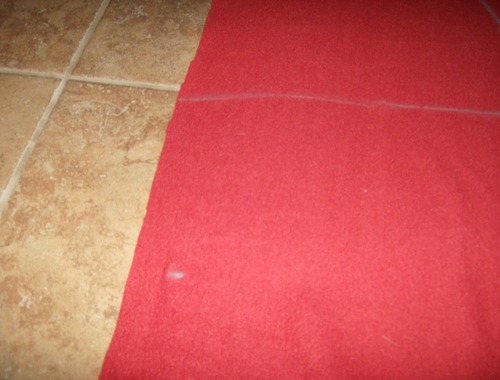
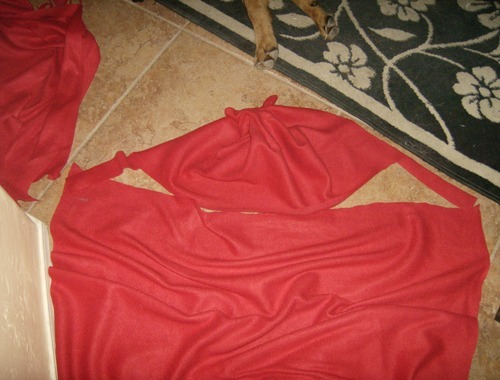
I started with my large expanse of fabric.
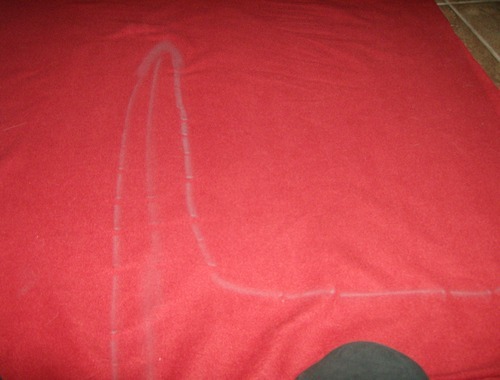
Then I measured my height. I marked the fabric up to that point. Now, If you’re not super tall, then use the horizontal side of the fabric. What I mean is, cut it so that it’s like this:= not like this ||. That’s just a tip to conserve your fabric.
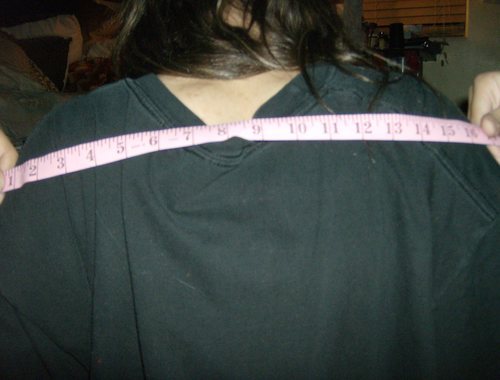
So then I measured my shoulders, and added a few inches to each side so that I could wrap it around my shoulders.
So just cut it in a straight line. It might help to mark it out first.
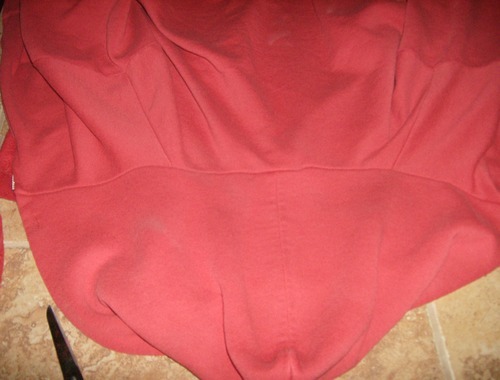
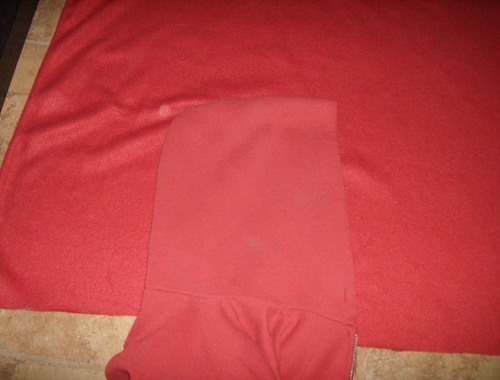
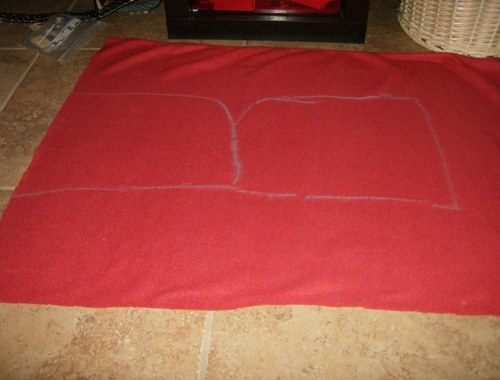
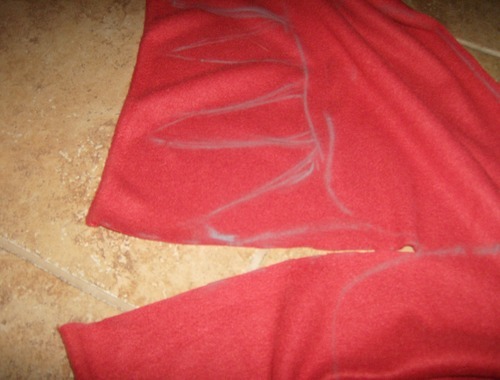
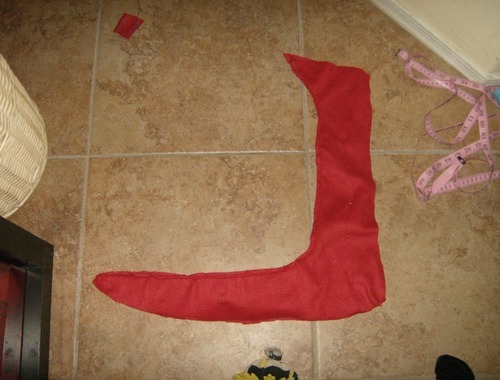
So for this, I used my hoodie as a guide. You can’t really tell, but the hood is actually one continuous piece with a cut in the back. Also, notice the ever so slight curve between the hood and the rest of the jacket
. So cut a slight curve where you want your hood to be. So set that aside for a little while.
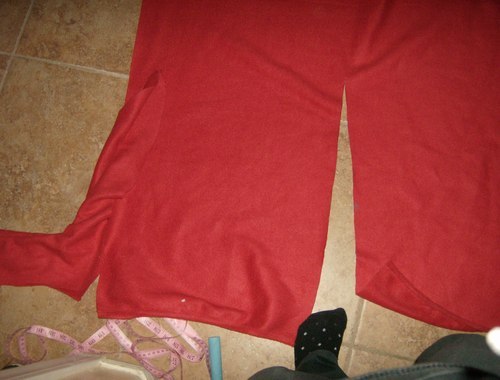
No, I strongly suggest that you pull out one of your own hoodies for this. Put the hood on the fabric that you have left, and trace it. I just traced with blue chalk.
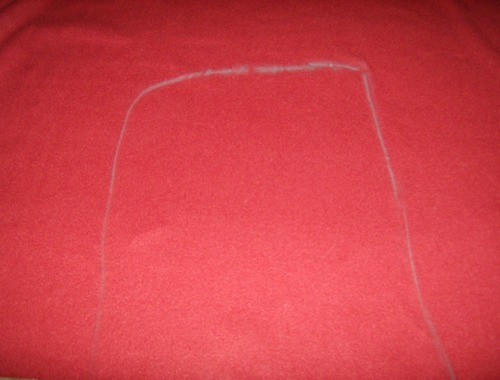
Notice that I’m not putting the seam flush to the edge of the fabric. That there is seam allowance. A term which here means,’ Cut that stuff a little bigger than you want it so it comes out the proper size when you actually sew it.’ It’s also just easier to take something in to make it smaller than to make something bigger if it’s too small
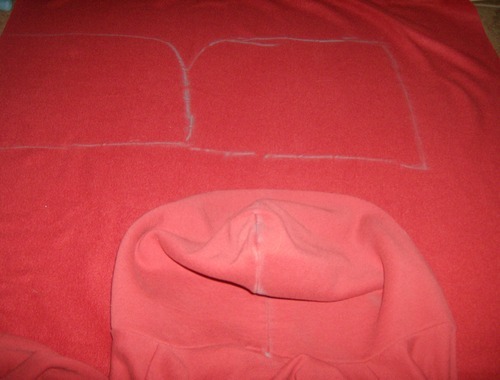
Next, trace your hoodie again, in a mirror to the first outline. You should have something like this:
Edit (1/13/2014) You could also just trace this on the fold, so you only have to trace once
See that sexy solid blue line connecting them? Don’t cut that portion when we finally get around to it.
Now Let’s take a quick shot at a reference picture.
Notice that she just ties the hood together? That’s what we’re going to be taking a look at here.
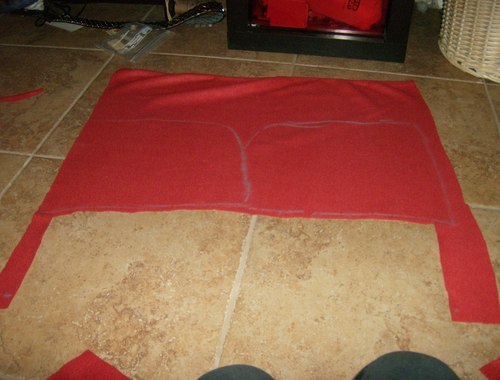
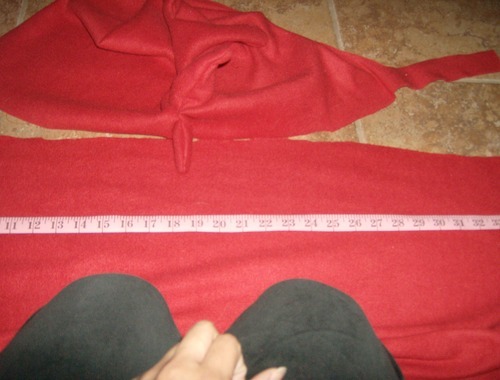
Now, assuming that you traced your hoodie, you should have a curved, and a straight side. On both mirrored sides of your hoodie, mark a spot, say ten inches away from the front. This will not only function as your tie, but it will also be there to sew in case your cape is longer than the width of your completed hood (which it was for me).
. You can see the little blue dots towards the bottom right and left.
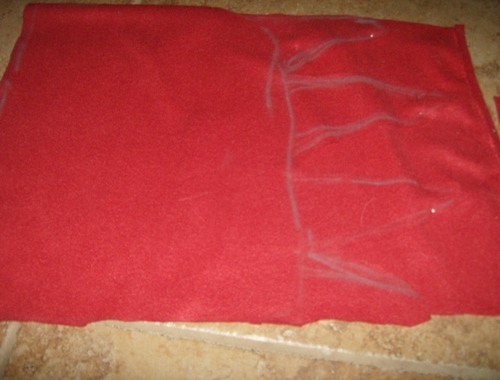
Here’s what it looks like after it’s been cut. Don’t worry if it’s not pretty.
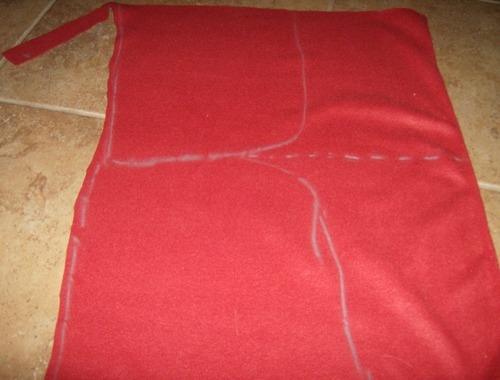
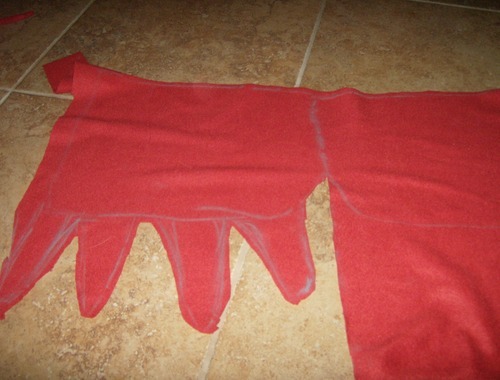
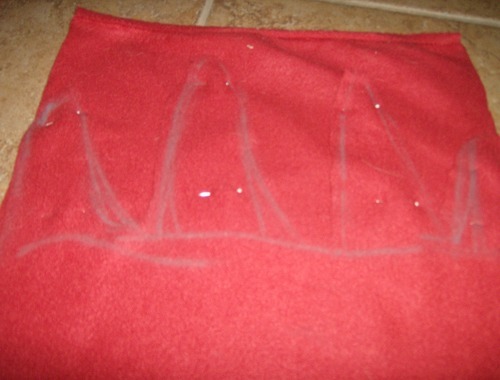
Now turn it on it’s side an do a dotted line down the middle. Trust me when I say that THIS SHIT IS IMPORTANT.This is to avoid you going over when you start making your spikes.
So draw four spikes.You only have to do this on one side.
So cut until the places meet.
If you want to make them pointer, go right ahead. That’s the basic idea though. Also, this is what’s known as the ‘wrong-side’ of your fabric. This is the side you sew on so that it doesn’t show when you flip it out.
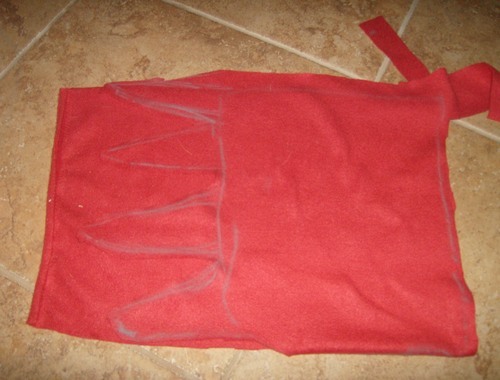
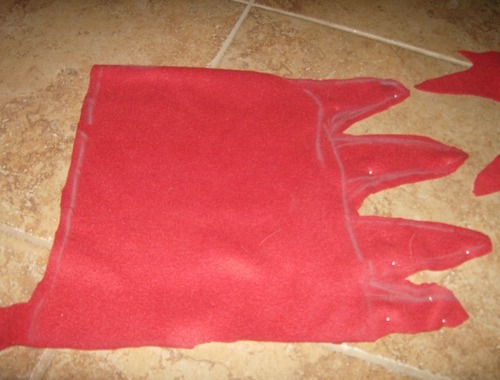
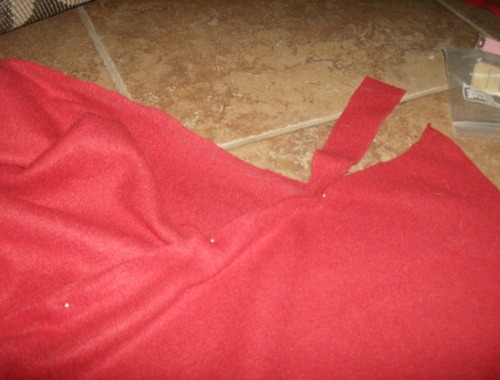
So then fold it over and pin the spikes down. Then cut them. Pinning just keeps it together, and neat.
I need to cut that last one a little bit…
Piiiiiiiins
There, symeyricality for the win! Remember that the top bit should remain uncut.
And keep your pins in so that it’ll be easier for you to sew.
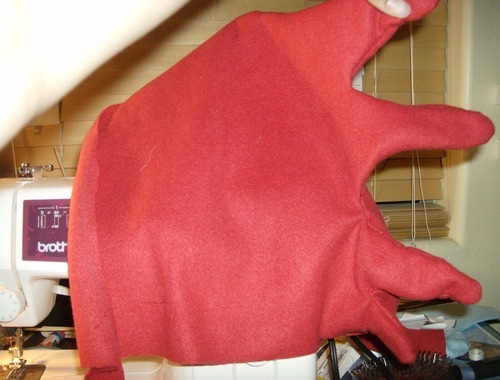
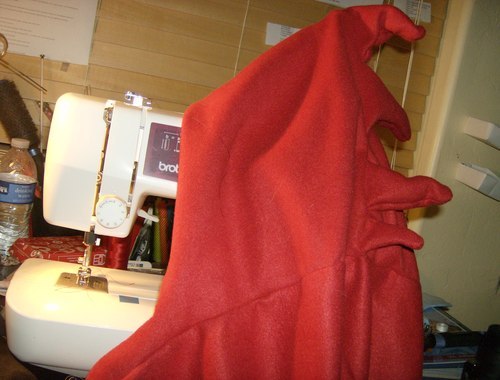
Just keeping sewing…Remember just to sew where the spikes are, and not the bottom or front of your hood.
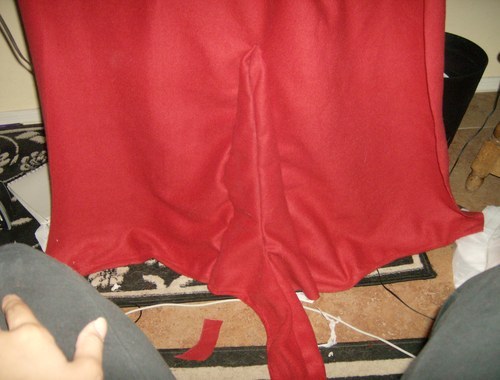
Dem spikes. That’s basically what it looks like. Now if you’re like me, then you probably missed a spot. Run your fingers in the seam so that you can find any little spots you didn’t sew.
Now we attach the two.
Now, as you guys know by now, I’m all about symmetry and what not. So measure your cape along where you will be attaching the hood. Mark the middle, and align the middle seam of your hood with that middle.
Now pin that again. Well, I actually don’t like pinning very much except for plush patterns. But this needs pinning. Now, also notice that I didn’t pin that last bit. That for seam allowance in case you want to hem it. More on hemming later.
That was easy! Just make sure to check your seam again.
And that is why.
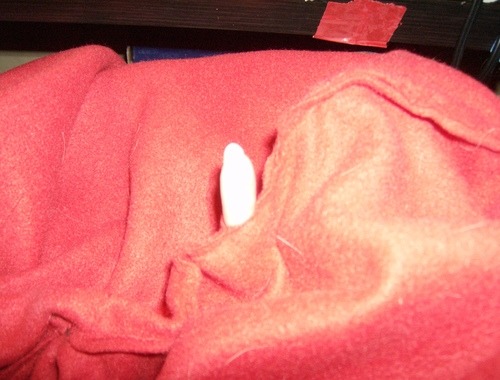
Now for the nose.
Let’s take another look at the reference.
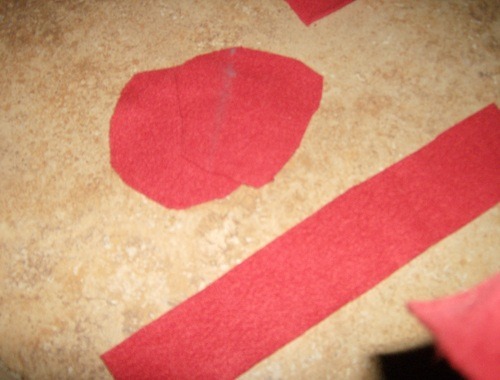
Now, Cut out two ovals and a rectangle. I put the ovals about 5 inches in length, and the rectangle at about 11 by 2. You can always cut it later.
Now sew the rectangle around one of the ovals all the way. Then sew the second circle on to the other side of the rectangle like 3/4’s of the way around.
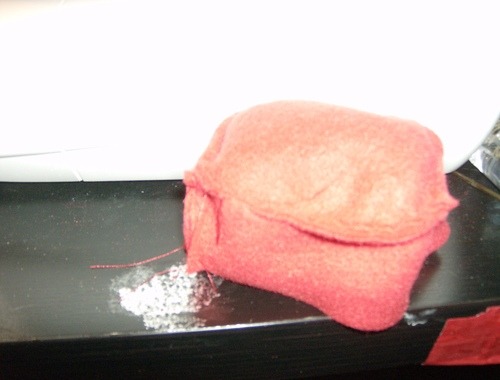
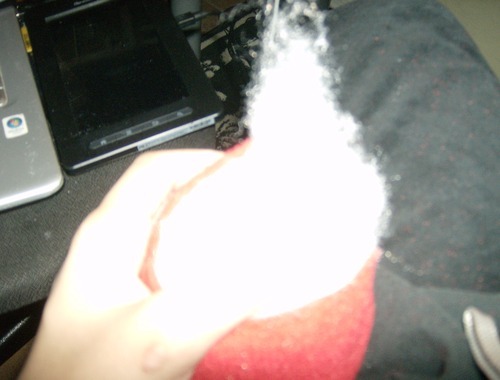
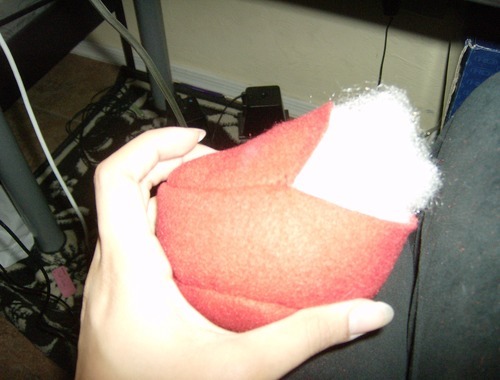
Then turn it inside out and stuff it. I just used polyester fiberfill
Now, I strongly urge you to handsew it the rest of the way. Make the stitches small and tight. If you have to, do big stitches one way so that it’ll close up easy enough for you to go back around better.
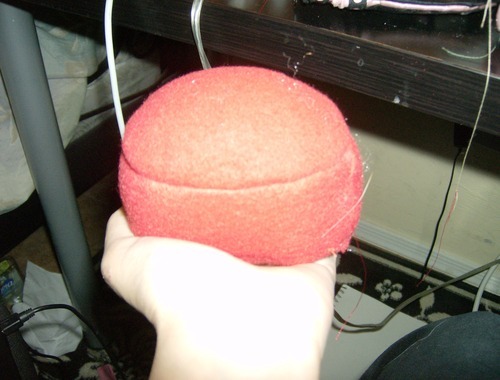
There ya go.
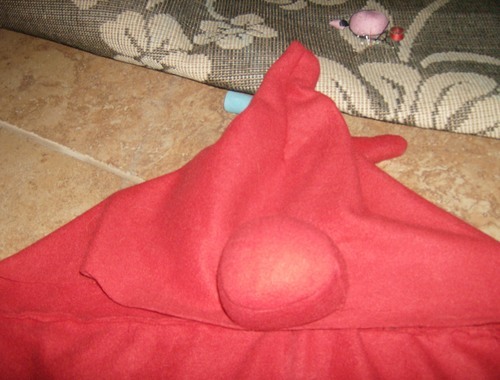
Now pin it to your hood.
Now handstitch that. I just got a really long piece of thread and kept going until it was gone. Make sure to get the edges. This is also a good opportunity for you to to hide your handstitching by sewing that part to the hood. ::::D
My lovely sewing.
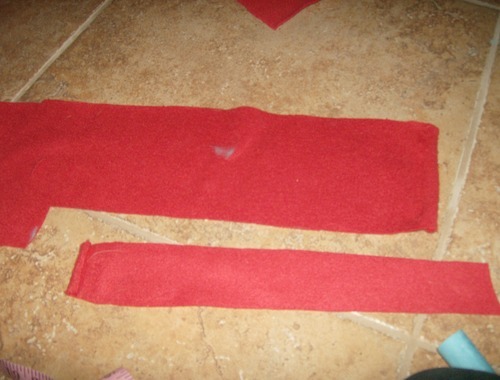
Now for the tail. What I wanted to do initially was use a coat hanger to give the tail some er, volume I suppose? But it didn’t pan out. If people want pictures, just ask. But I did use the hanger as guide.
I just cut that, and pinned/cut another piece. I didn’t have enough fabric to do it continuous like the hood.
Random triangle bit is random. I’m just gonna cut that piece off.
Now, Measure how long your tail is, and the middle of the cape, and cut down that line.
Pin it again, and sew on the inside of your cape.
And that’s the tail. When I have more time, I’m gonna sew another triangle to the bottom, and stuff it to make it bigger.
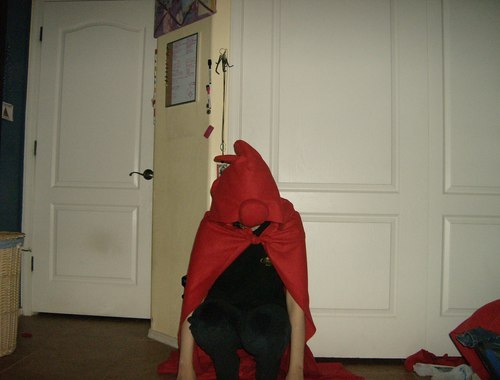
And there you have it! Terezi’s dragon cape.
I know I’m missing buttons, but I don’t have any green ones right now ::::(
Final notes:
I put a squeeky thing in the nose.
Make sure to hem the sides if it’s really roughly cut. I’m not doing this just because I don’t want it any smaller around my shoulders. Also you won’t have to worry about fleece fraying.
To hem: basically fold the edge and sew it. Google this to get a better explanation. Hemming is just to shorter or clean up an edge. Here, you’d be doing the later.
If you use light enough fabric, you could probably use jewelry wire if you’re into the whole wire idea at all.
For horns, just measure out the diameter of your horns, and cut holes. Or you could do it like a god tier hood with the buttons. Or you can just directly attach it them, like glue fleece to the bottom of the horns and sew them on


uroburos reblogged this from spicercosplay
whatsgoingonnow liked this
kawaiidesusaetankun liked this
allhailtemptation liked this
ask-aph-cupcakesandtea liked this
yaboicirrus liked this
 lolikupi9 liked this
 the-amethyst-lynx liked this
moon-child0407 liked this
vampired0ll liked this
dingleswab liked this
queentacocat reblogged this from spicercosplay
 biologyofkin reblogged this from sweetartsandhellacrafts
 sapphiresatire reblogged this from vapurrwave-dot-org
vapurrwave-dot-org reblogged this from spicercosplay
finderille liked this
bobbys-cosplay-world reblogged this from spicercosplay
toomanyshipsandgodtiers liked this
synaga-wv liked this
wizard-frogg liked this
miniatureteastain liked this
grifpng liked this
skyye2 reblogged this from spicercosplay
a-fandom-name reblogged this from spicercosplay
rage-mode-138 reblogged this from spicercosplay
fireandcrystal101 liked this
cricket-lopez liked this
wolfcookie12 liked this
shardaura liked this
sadghostuwu liked this
maxterian liked this
dotsilikedots liked this
capriciousskygazer liked this
sparklingneonfishcakes reblogged this from spicercosplay
spicercosplay posted this